# PostgreSQL ASP.NET 7
Convert an ASP.NET Core Web Application project to use PostgreSQL with Entity Framework.
This enables development of ASP.NET Core projects using [VS Code](https://code.visualstudio.com/) on macOS or linux targets.
This project uses [.NET 7.0](https://dotnet.microsoft.com/en-us/download/dotnet/7.0) target framework, ASP.NET Core Web Application MVC project scaffold from Visual Studio 2022 (version 17.4).
Project setup has already been completed in this repository - assure [environment setup](#environment-setup); then, jump to [running the solution](#running-the-solution).
## Environment Setup
This project requires PostgreSQL - installation instructions are provided below.
If using Visual Studio Code, you will need to generate ASP.NET Core developer certificates by issuing the following commands from a terminal:
dotnet dev-certs https --clean
dotnet dev-certs https
For command line `database ef` commands, you will need to install Entity Framework Core tools .NET CLI:
dotnet tool install --global dotnet-ef
## Project Setup
Below, instructions are referenced to use PostgreSQL in a ASP.NET Core project.
### Install NuGet packages
Install the `Npgsql.EntityFrameworkCore.PostgreSQL` NuGet package in the ASP.NET web application.
To do this, you can use the `dotnet` command line by executing:
$ dotnet add package Npgsql.EntityFrameworkCore.PostgreSQL --version 3.1.2
Or, edit the project's .csproj file and add the following line in the `PackageReference` item group:
```xml
```
### Update appsettings.json
Configure connection string in project's appsettings.json, replacing the `username`, `password`, and `dbname` appropriately:
```json
"ConnectionStrings": {
"DefaultConnection": "User ID=username;Password=password;Server=localhost;Port=5432;Database=dbname;Integrated Security=true;Pooling=true;"
},
```
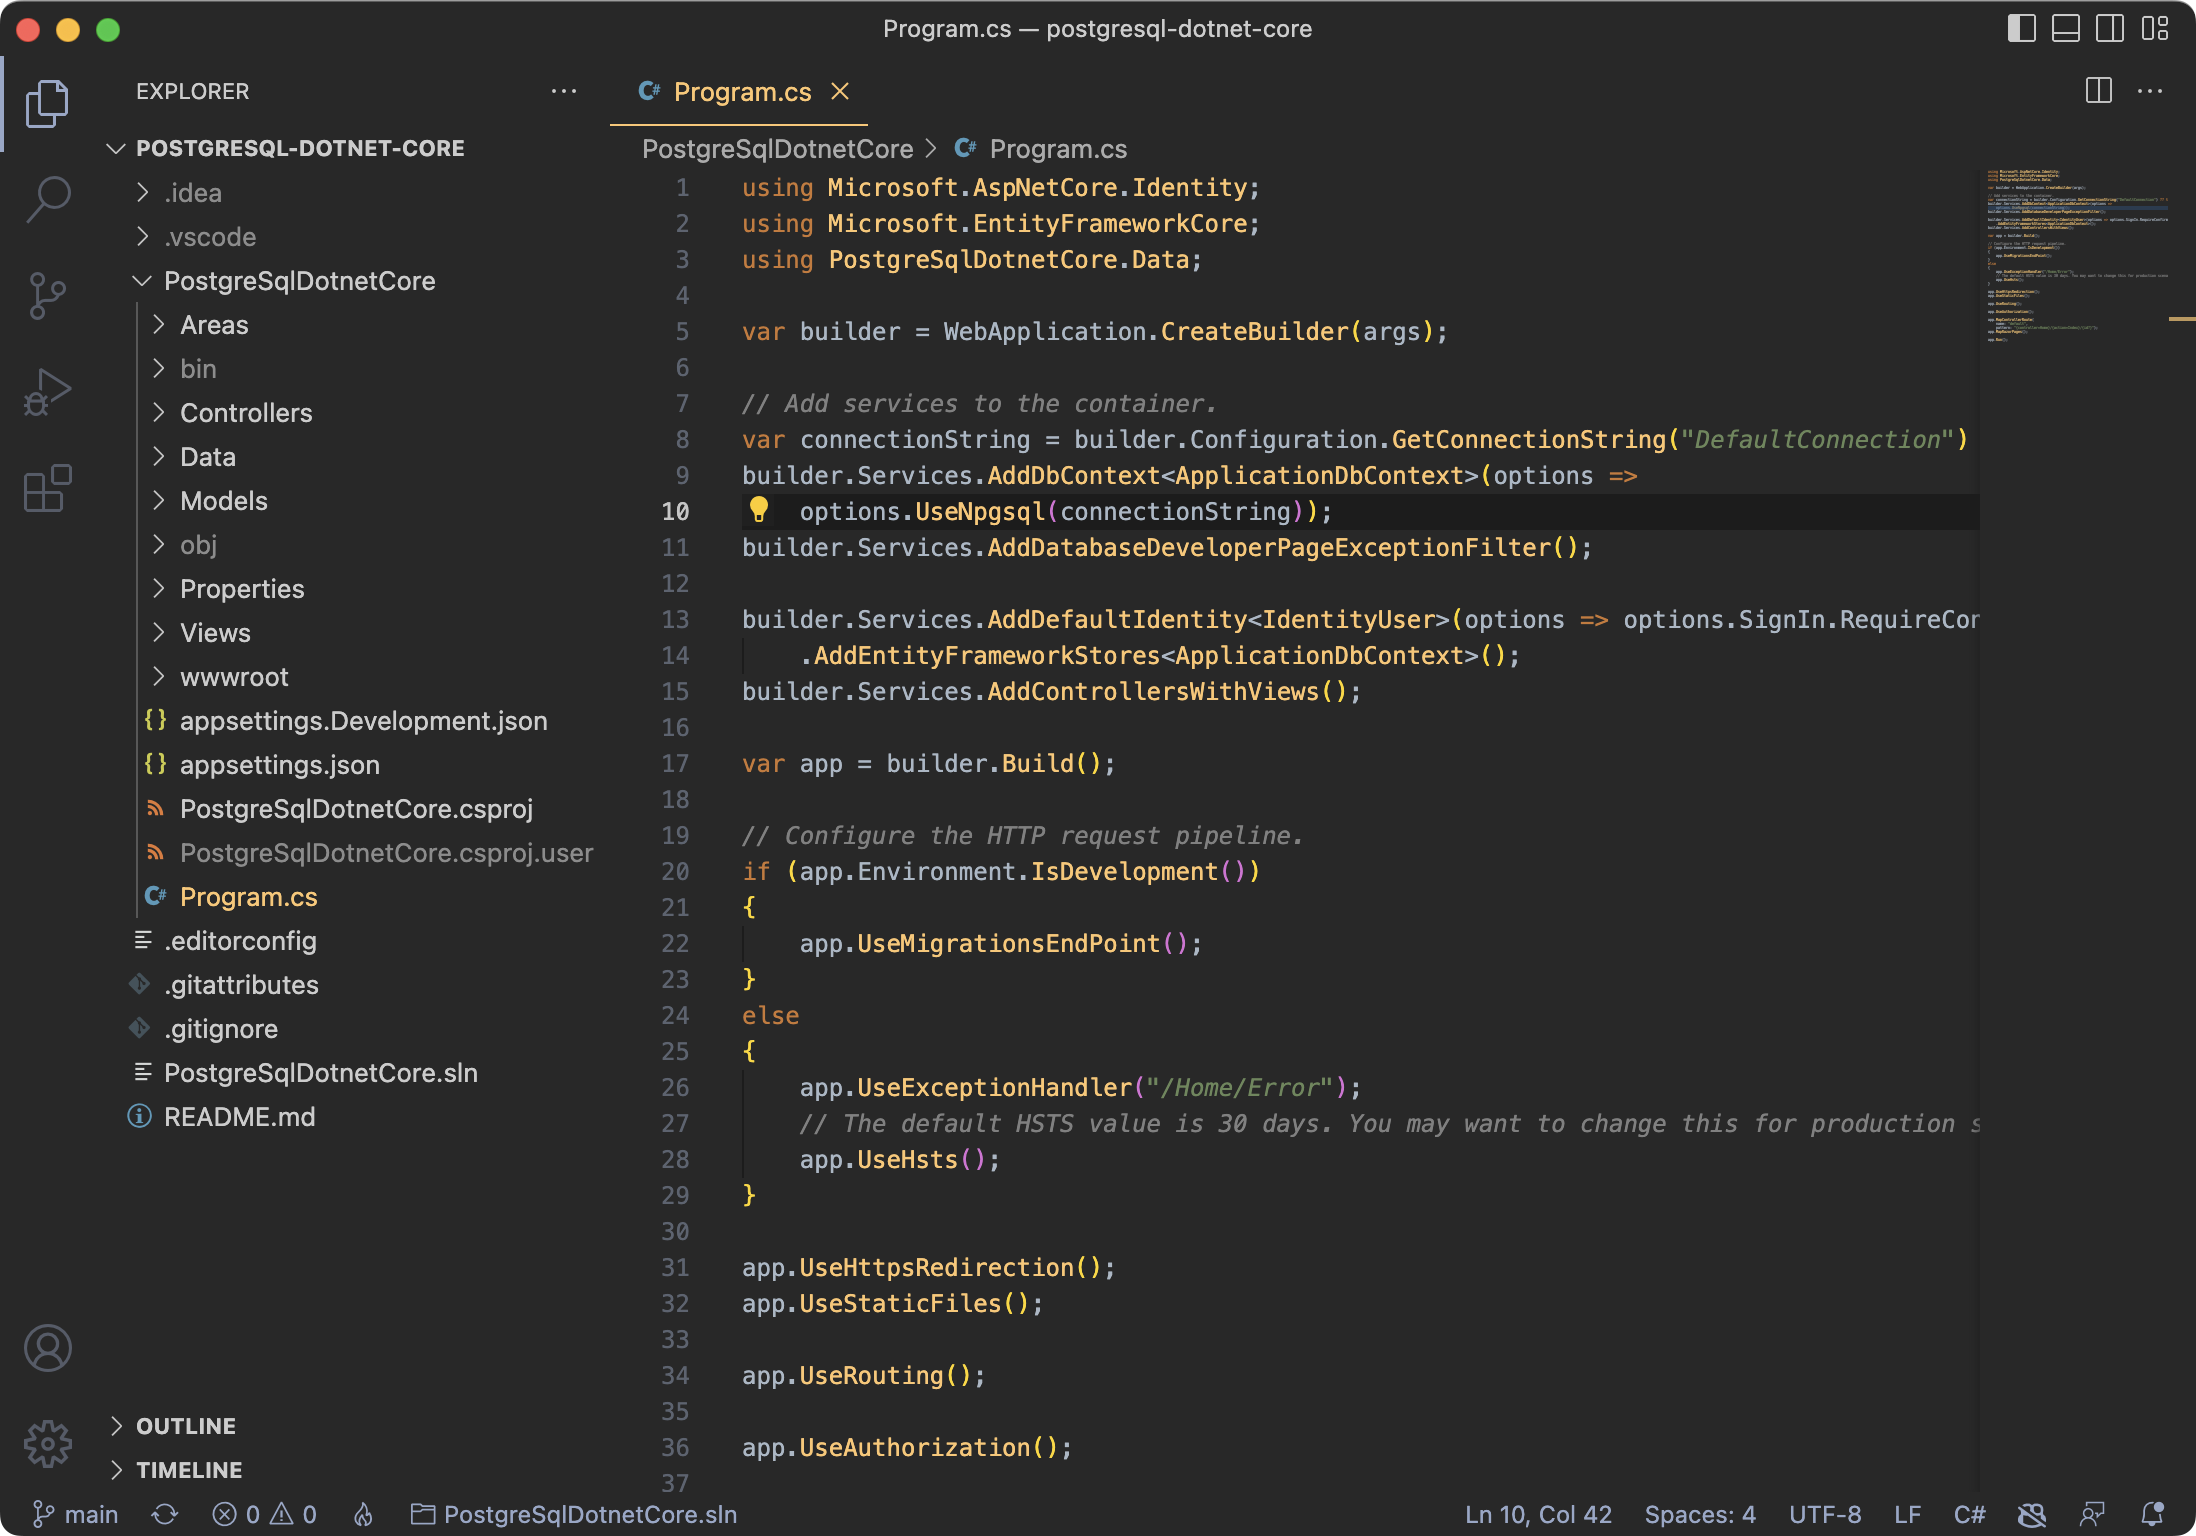
### Modify Program.cs
Inside Program.cs replace the `UseSqlServer` options with `UseNpgsql`:
```cs
builder.Services.AddDbContext(options =>
options.UseNpgsql(connectionString));
```
## Running the solution
Before the solution can be executed, be sure to run entity framework migrations.
### Migration Issues with DbContext
Initial migrations may fail, due to ASP.NET Core template come with a pre-generation migration for SQL Server.
When trying to run the migration, you might see errors such as:
> Npgsql.PostgresException (0x80004005): 42704: type "nvarchar" does not exist
>
> System.NullReferenceException: Object reference not set to an instance of an object.
>
> System.InvalidOperationException: No mapping to a relational type can be found for property 'Microsoft.AspNetCore.Identity.IdentityUser.TwoFactorEnabled' with the CLR type 'bool'.
Delete the entire Migrations folder, and regenerate new inital migrations.
Generate a new migration using Visual Studio Package Manager Console (from menu: Tools -> NuGet Package Manager -> Package Manager Console):
PM> Add-Migration
Or, from the command line via DotNet CLI:
$ dotnet ef migrations add Initial
If dotnet migration tools don't exist, remember to install the tools using the instruction above in the [environment setup](#environment-setup).
### Run Entity Framework Migrations
Execute the migration using either Visual Studio Package Manager Console (from menu: Tools -> NuGet Package Manager -> Package Manager Console):
PM> Update-Database
Or, from the command line via DotNet CLI, execute the following command inside the project directory, **where the .csproj file is located**:
$ dotnet ef database update
After running the migration, the database is created and web application is ready to be run.
## Setting up a PostgresSQL server on Mac
Here are instructions to setup a PostgreSQL server on Mac using Homebrew.
### Installing PostgreSQL on Mac
Use [brew](https://brew.sh/) to install PostgreSQL, then launch the service:
$ brew install postgresql
$ brew services start postgresql
### Create a user
Create a user using the `createuser` command from a terminal, where `username` is your desired new user name. Using the `-P` argument, you will be prompted to setup a password.
$ createuser username -P
### Create a database
Create your database using the `createdb` command from a terminal, where `dbname` is your desired new database name.
$ createdb dbname
At this time, run the solution's Entity Framework migrations (see above for instructions).
### Verifying database
Launch PostgreSQL interactive terminal and connect to the database.
$ psql dbname
From the PostgreSQL interface terminal, List tables using the `\dt` command:
dbname=# \dt
List of relations
Schema | Name | Type | Owner
--------+-----------------------+-------+--------------
public | AspNetRoleClaims | table | username
public | AspNetRoles | table | username
public | AspNetUserClaims | table | username
public | AspNetUserLogins | table | username
public | AspNetUserRoles | table | username
public | AspNetUserTokens | table | username
public | AspNetUsers | table | username
public | __EFMigrationsHistory | table | username
(8 rows)
### Database permissions issues
If permissions were not setup properly during the creation of the database, retroactively fix by granting privileges where `dbname` is your database name and `username` is the user you created:
$ psql dbname
dbname=# GRANT ALL PRIVILEGES ON ALL TABLES IN SCHEMA public TO username;