Description of software
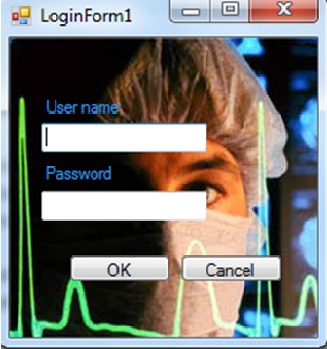
In the moment that any member of the staff will try to log in the system there will appear the following form.

Figure 1.
Figure 1 shows the login part of the software. It is important to have login because not everyone can have access to this software because this software contains all information’s about a patient so, the software must provide effectiveness as well as security for the user. If the username and password does not match the user cannot continue to use the software.
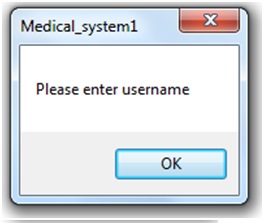
At the textboxes of figure 1 the users will have to write their username and password. If the users live empty any of the textboxes or they put a wrong username or password the following message will appear Figure 2.

Figure 2.
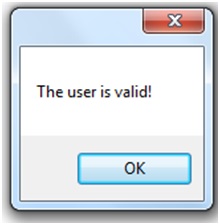
In the other hand if the member of the staff put correct data and log in then will be send to the next form Figure 3.

Figure 3.
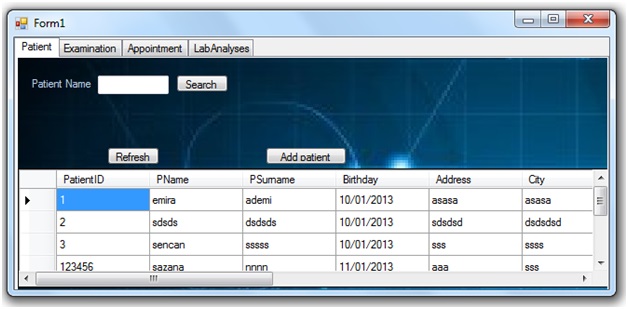
In the next form the main elements which are seen in the figure above are the tabs with their main properties Patient, Examination, Appointment and Lab Analysis, depending on the administration need from this form can choose them from this form to work.

Figure 4.
This form is the first step of all other forms because in this form the patient is saving with all information and if the user won’t to search the patient information it can be searched from this part, this form has search button, refresh button and addPatient button.
The search button is used for searching the patient, refresh button is used if the new information that is add doesn’t appear in grid table, and add Patient is used for adding new patient, if administrator click in addPatinet then will appear the Figure 5.
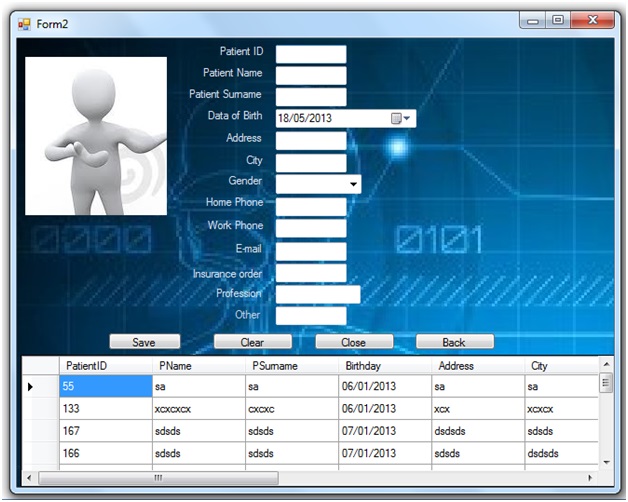
In this form the user has to write the patientID, name, surname, age and all there information about the new patient to have them in electronic way not in hard copy. This form I think is more important than the other form because it gives to administrator easy work, till now they have the patient information saved in hard copy but with this application they will have all patient in electronic way and this will help them to find the patient information easily.

Figure 5.
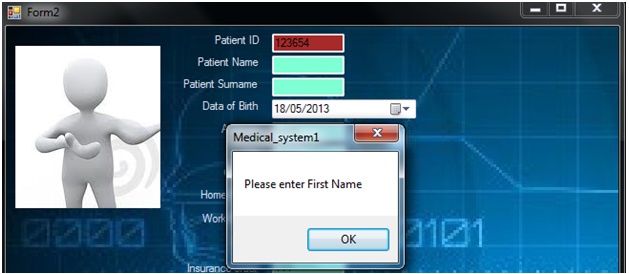
If the administrator leaves any textbox empty the message which is in figure 6 will appear and the leaved textboxes will automatically change their color.

Figure 6.
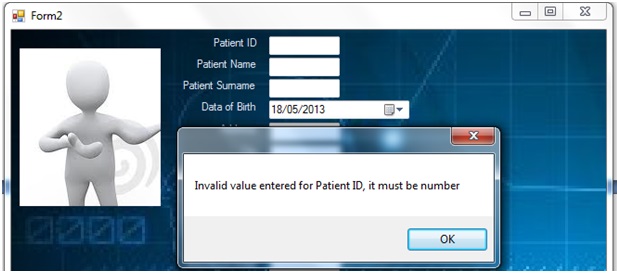
The other control that has been used is the one that doesn’t permit to put text at the textboxes that should contain numbers. In this case the following message will appear Figure 7.

Figure 7.
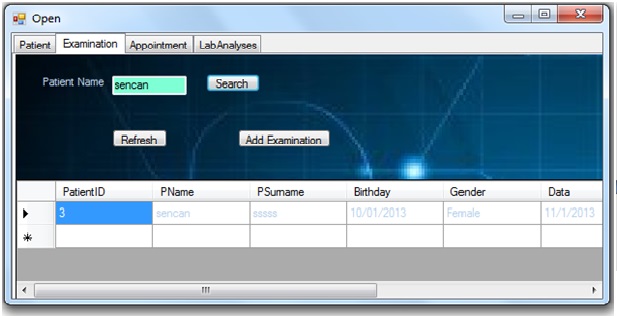
Examination form also in this form administrator can search previous examinations and if there is need to add new examination can be added with addExamination button. The form is shown in Figure 8.

Fiugre 8.
For adding new examination I create this form, in this forum the administrator have to write the patient ID for identification of patient then have to choose the date ,to write the control ,diagnosis and presentation than can insert the new examination. If the administrator adds new examination for patient form will appear the Figure 9.

Figure 9.
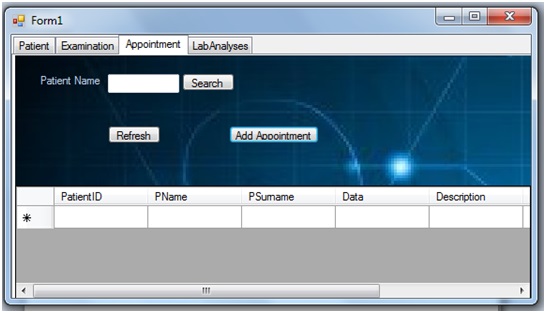
By using the tab Appointments the doctor can assign a new appointment to a certain patient by himself or just can see the appointments that have been done from the patients through the Figure 10.

Figure 10.
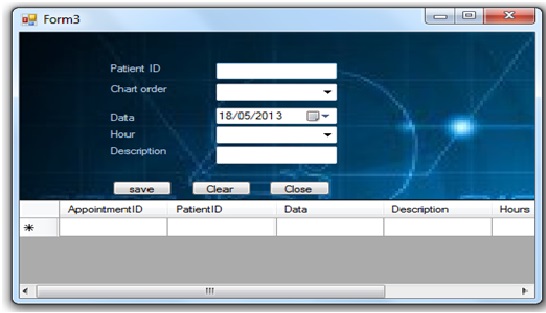
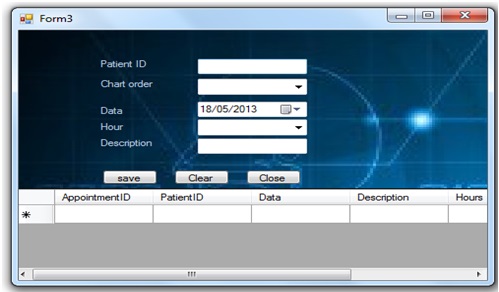
In appoitnment form the doctor give to patient new appointment with char order,date,hour and also write the descrpition.

Figure 11.
If the Administrator moves to the LabAnalysis there will appear a table that contains the information about the blood test and can see the previous blood test that have been done from the patients through the Figure 12.

Figure 12.
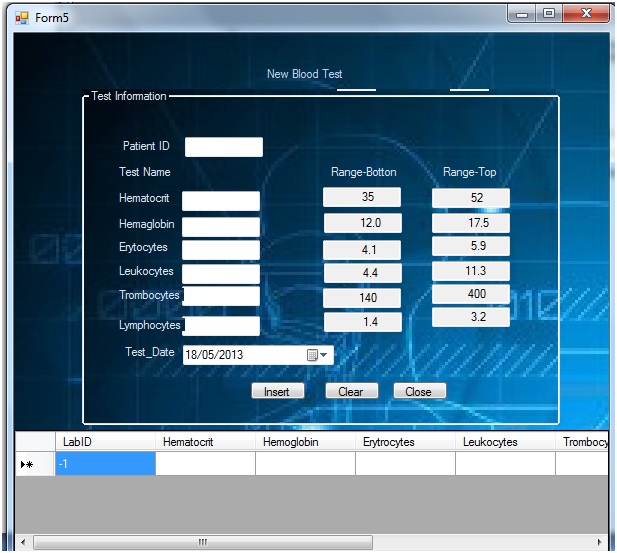
If the Administrator have new blood test then move to add Lab result, in the next form will appear the table that are shown the equated of Range-Bottom and Range-Top of blood, the administrator need to fulfill the blood test result of patient with date results. The form is shown in figure 13.

Figure 13.
Attachments (13)
- 1.jpg (41.5 KB ) - added by 11 years ago.
- 2.jpg (12.9 KB ) - added by 11 years ago.
- 3.jpg (15.7 KB ) - added by 11 years ago.
- 4.jpg (60.1 KB ) - added by 11 years ago.
- 5.jpg (100.9 KB ) - added by 11 years ago.
- 6.jpg (48.2 KB ) - added by 11 years ago.
- 7.jpg (44.1 KB ) - added by 11 years ago.
- 8.jpg (51.0 KB ) - added by 11 years ago.
- 9.jpg (46.7 KB ) - added by 11 years ago.
- 10.jpg (41.8 KB ) - added by 11 years ago.
- 11.jpg (44.9 KB ) - added by 11 years ago.
- 12.jpg (39.8 KB ) - added by 11 years ago.
- 13.jpg (98.6 KB ) - added by 11 years ago.
Download all attachments as: .zip